Appointment Management
Comprehensive guide to scheduling, tracking, and managing client appointments in Agent Teammate CRM
Overview
The Appointment Management system in Agent Teammate CRM helps real estate professionals efficiently schedule, track, and manage client appointments. From property showings to consultation meetings, keep your schedule organized and never miss an important appointment.
Key Features
- Flexible Scheduling: Schedule appointments with drag-and-drop calendar interface
- Client Integration: Link appointments directly to client and deal records
- Automatic Reminders: Send email and SMS reminders to clients and agents
- Calendar Sync: Synchronize with Google Calendar, Outlook, and other calendar systems
- Recurring Appointments: Set up recurring meetings and follow-ups
- Team Coordination: Schedule appointments with multiple team members
- Mobile Access: View and manage appointments on mobile devices
- Conflict Detection: Automatic detection and prevention of scheduling conflicts
- Online Booking: Allow clients to book appointments online
- Wait Lists: Manage cancellations with automatic wait list notifications
Scheduling Appointments
Method 1: Quick Schedule from Calendar
Open Calendar View
Navigate to the calendar interface and select your desired date and time.
Create Appointment
Click on the time slot and enter appointment title, client, and duration.
Add Details
Include location details and any special instructions for the appointment.
Save Appointment
Click "Save" to create the appointment and send confirmations.
Method 2: Detailed Appointment Form
Start New Appointment
Click to open the detailed form.
Select Appointment Type
Choose from showing, consultation, closing, or other appointment types.
Choose Client and Details
Select the client, link to relevant deals, and add team members if needed.
Configure Reminders
Set up email and SMS reminders for both you and your client.
Method 3: Schedule from Contact Record
Quick Client Scheduling
When viewing a client's contact record, click "Schedule Appointment" to automatically pre-fill their information and create a new appointment.
Managing Appointments
Viewing Options
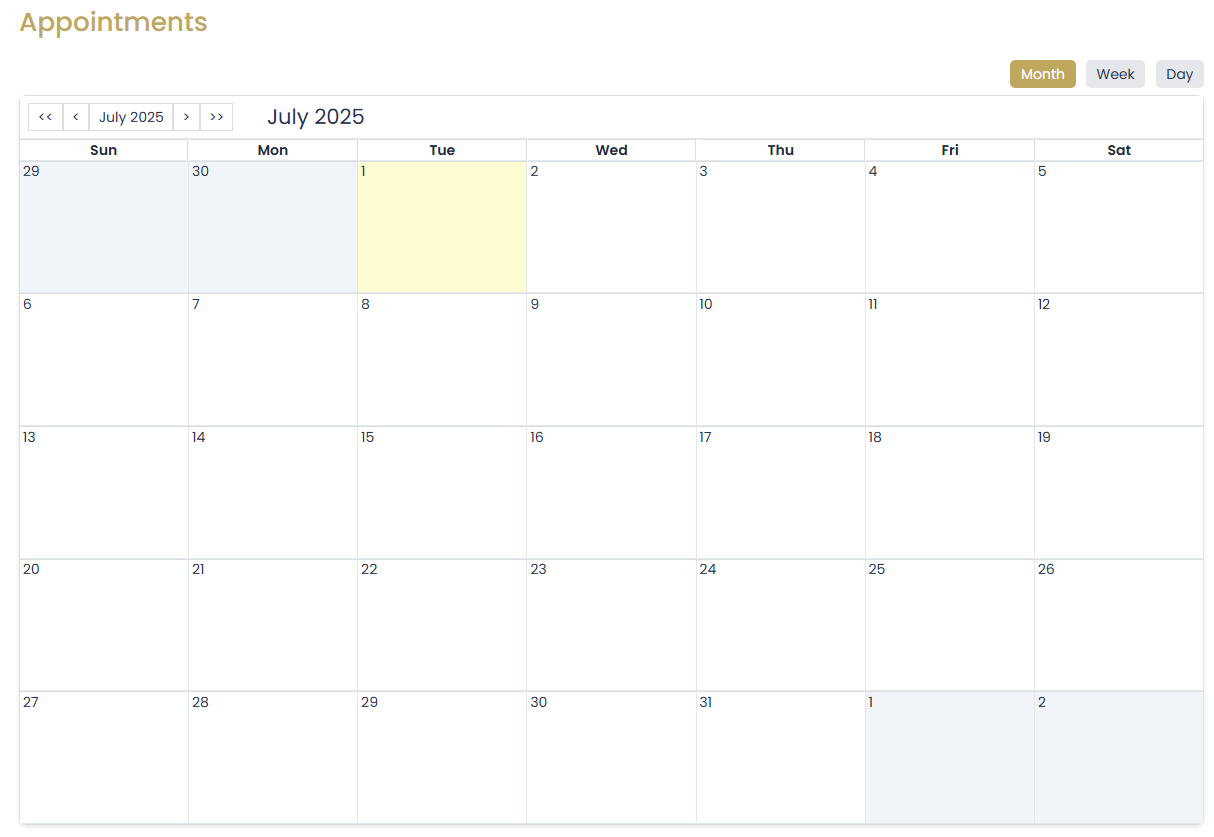
- Calendar Views: Day, week, month, and agenda views
- List View: Chronological list of upcoming appointments
- Filtering: Filter by client, appointment type, or status
- Search: Quick search for specific appointments
- Color Coding: Visual coding by appointment type or priority
Editing Appointments
- Click on any appointment to edit details
- Drag and drop to reschedule
- Resize appointment blocks to change duration
- Update client, location, or notes
- Add or remove team members
- Change appointment status (confirmed, tentative, cancelled)
Appointment Status Tracking
| Status | Description | Actions Available |
|---|---|---|
| Scheduled | Initial appointment status | Edit, Confirm, Cancel |
| Confirmed | Client has confirmed attendance | Edit, Start, Cancel |
| In Progress | Appointment is currently happening | Add Notes, Complete |
| Completed | Appointment finished successfully | View Notes, Schedule Follow-up |
| Cancelled | Appointment was cancelled | Reschedule, Archive |
| No Show | Client did not attend | Reschedule, Contact Client |
Calendar Synchronization
Supported Calendar Systems
- Google Calendar: Full two-way synchronization
- Microsoft Outlook: Exchange and Outlook.com support
- Apple iCloud: Sync with iPhone and Mac calendars
- Office 365: Enterprise calendar integration
- CalDAV: Standard calendar protocol support
Setting Up Calendar Sync
Access Integration Settings
Go to Settings > Calendar Integration to begin setup.
Select Provider
Choose your calendar provider and click "Connect".
Authorize Access
Grant Agent Teammate permission to access your calendar.
Configure Sync
Set sync direction, frequency, and conflict resolution preferences.
Client Self-Scheduling
Online Booking Benefits
- Reduces phone calls and back-and-forth emails
- Allows clients to book at their convenience
- Automatically prevents double-booking
- Sends automatic confirmations
- Improves client satisfaction
Setting Up Client Booking
Enable Online Booking
Go to Settings > Online Booking and enable client self-scheduling.
Configure Availability
Set your available time slots and buffer times between appointments.
Customize Booking Page
Add your branding, customize form fields, and set confirmation messages.
Share Booking Link
Generate and share your booking link with clients via email or website.
Best Practices
Scheduling Tips
- Block travel time between appointments
- Schedule buffer time for prep and follow-up
- Group appointments by location when possible
- Use different colors for different appointment types
- Always confirm appointments 24 hours in advance
- Have backup time slots ready for reschedules
Client Communication
- Send appointment confirmations immediately
- Include driving directions and parking information
- Provide your contact information for questions
- Follow up after appointments with next steps
- Ask for feedback to improve service
Troubleshooting
Common Issues
Q: Calendar sync is not working
A: Check your internet connection and re-authorize the calendar integration. Verify that the correct calendar is selected and sync settings are properly configured.
Q: Clients are not receiving reminder emails
A: Verify email addresses are correct and check spam folders. Ensure notification settings are enabled and test with your own email address first.
Q: Double-booking occurred despite conflict detection
A: Check if appointments were created simultaneously or if calendar sync had a delay. Review buffer time settings and ensure all team members are using the system consistently.