Team Management
Comprehensive guide to creating and managing real estate teams, their branding, and member information
Overview
The Team Management module allows you to create and manage multiple real estate teams within your organization. Each team can have its own branding, contact information, service areas, social media presence, and agent roster. This powerful feature helps you organize your business structure and present different teams with their unique identities.
Key Benefits
- Brand Management: Create distinct branding for each team
- Service Area Specialization: Define specific markets and specialties
- Team Organization: Manage agents and their roles within teams
- Marketing Integration: Connect social media and online presence

Adding a New Team
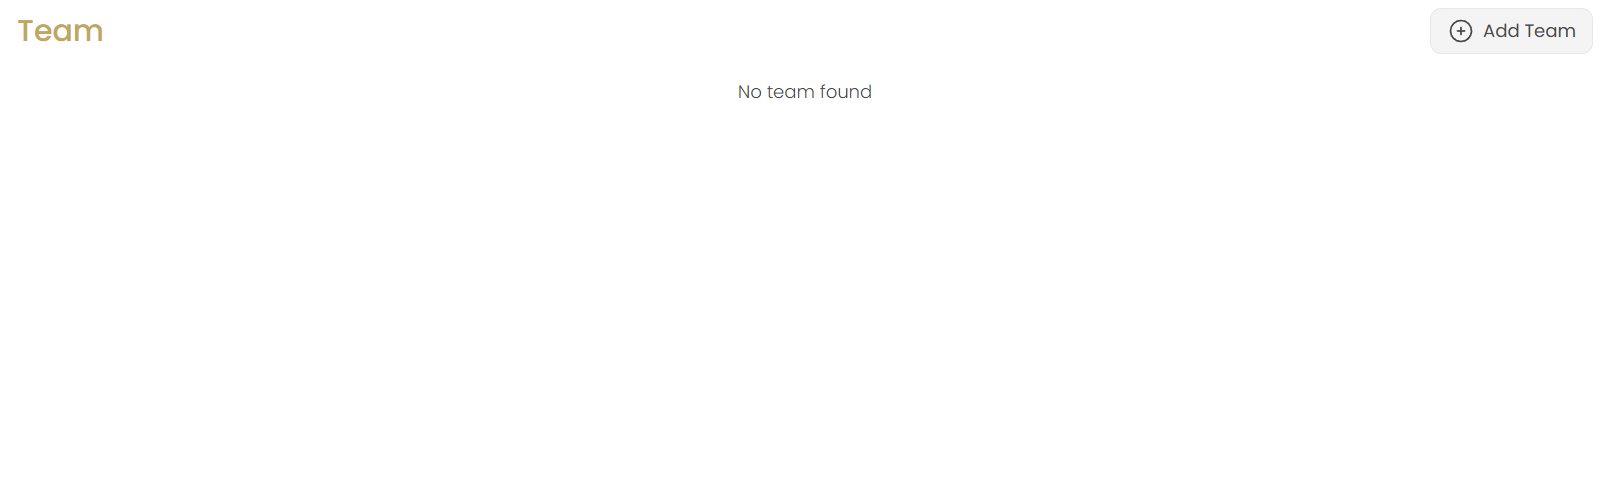
Access Team Management
Navigate to the Teams section in the Website menu. If no teams exist, you'll see "No team found" with an option to add your first team.
Click Add Team
Click the Add Team button in the top-right corner to start creating your team profile.
Configure Team Details
You'll be taken to the team configuration interface with multiple tabs to complete your setup.
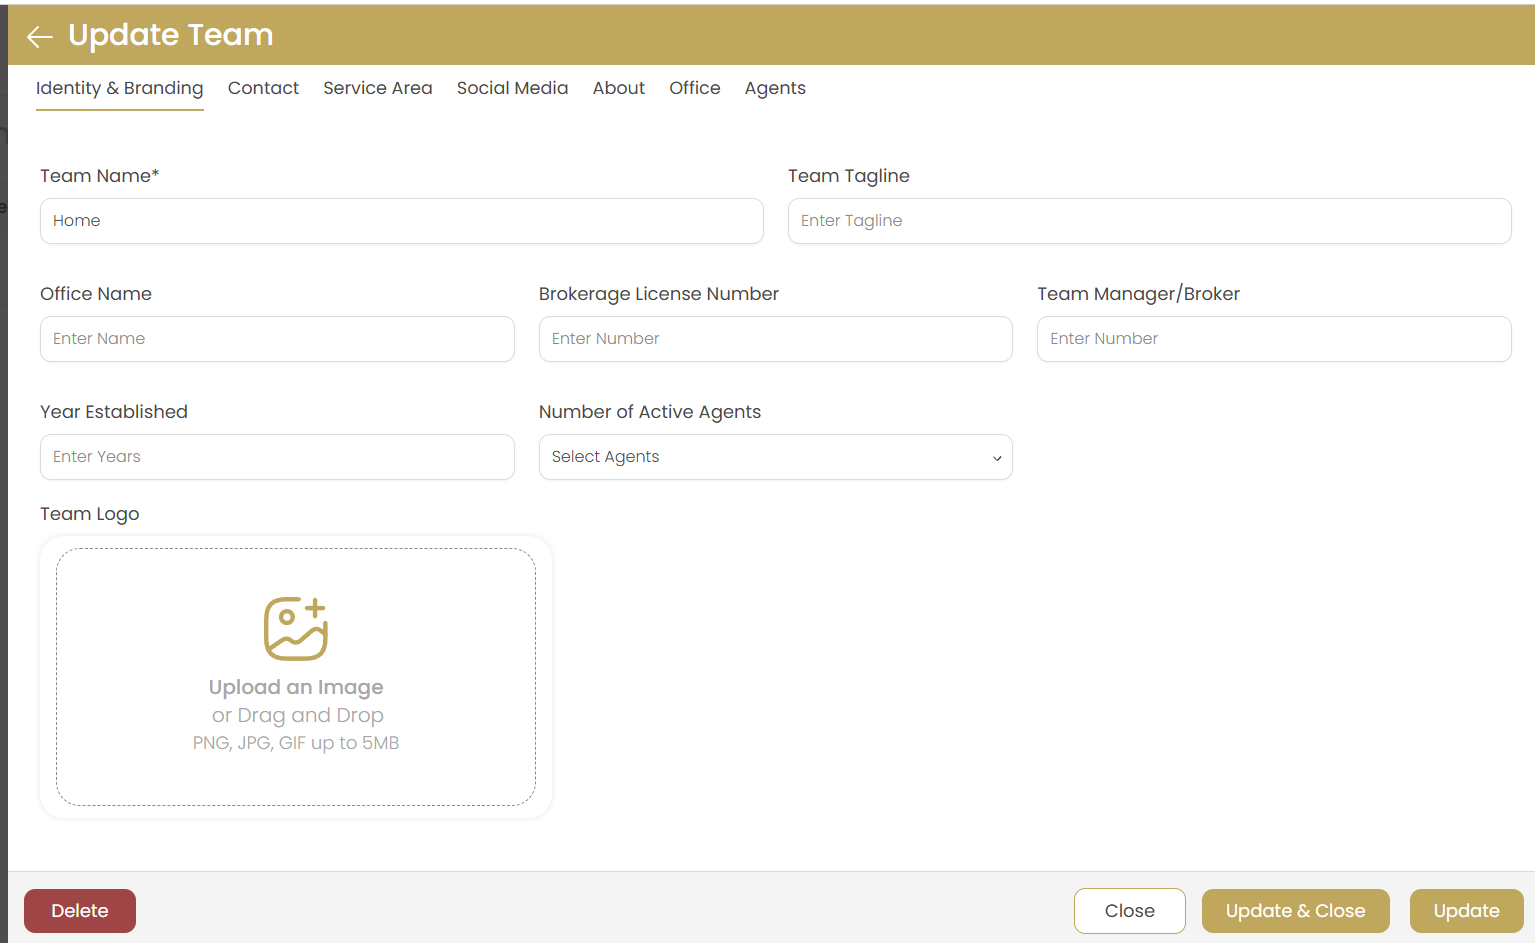
Identity & Branding Tab Configuration
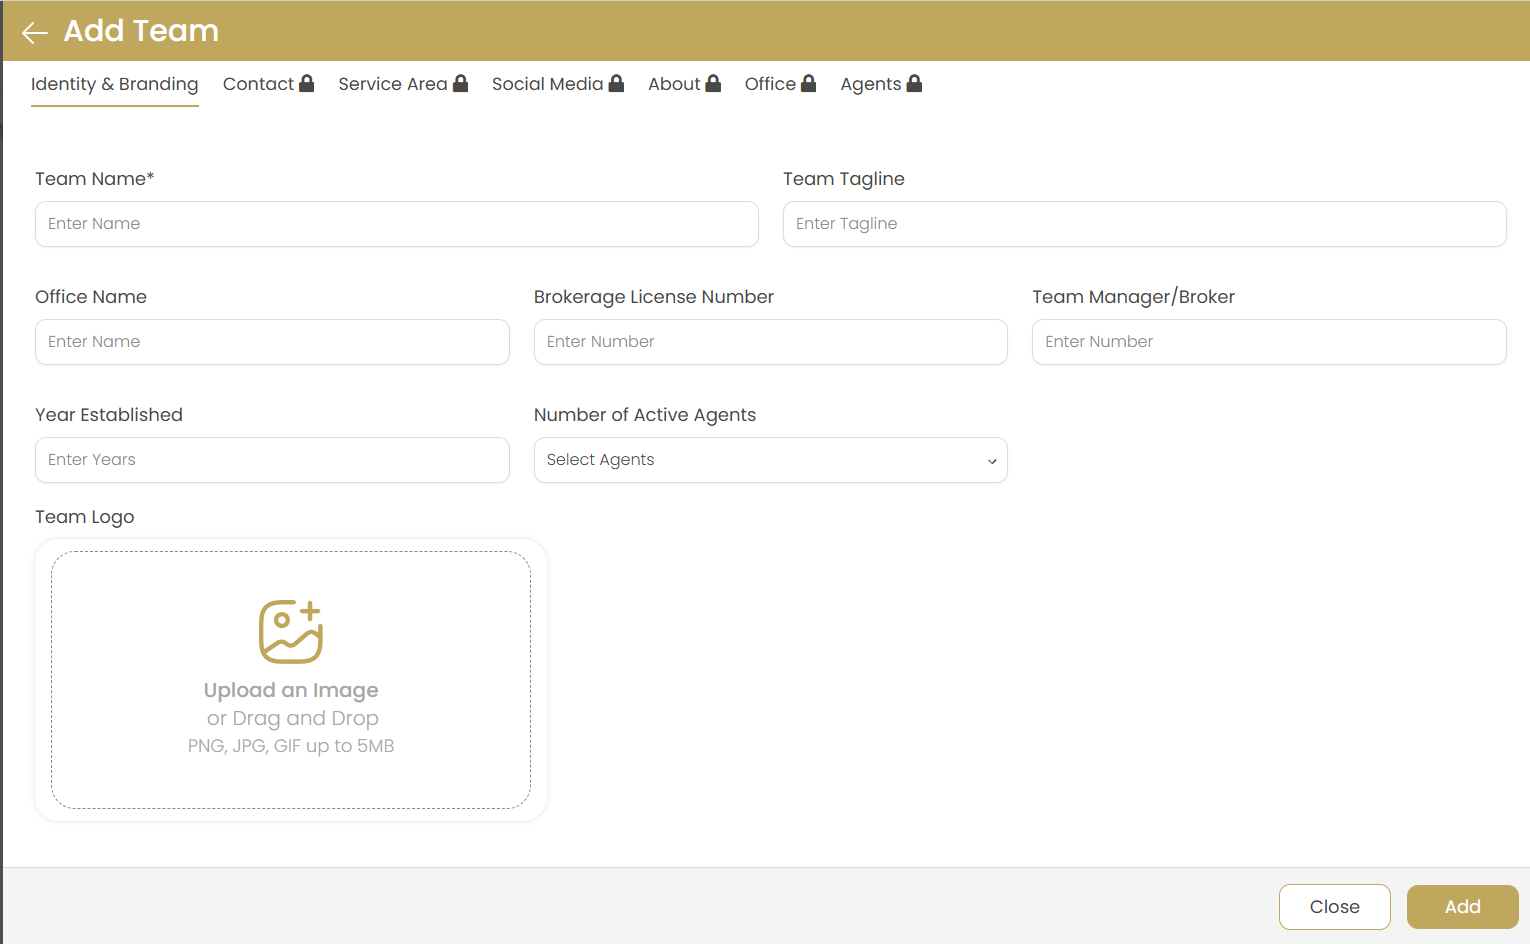
Team Name
Enter the official team name (required) as it will appear on your website and marketing materials.
Examples: "The Johnson Team", "Elite Property Group", "Downtown Specialists"
Team Tagline
Add a memorable slogan or tagline that captures your team's unique value proposition.
Examples: "Your Home is Our Priority", "Luxury Real Estate Experts"
Office Name
Specify the associated office location to connect your team with the appropriate office.
Brokerage License Number
Enter official license information for regulatory compliance and professional credibility.
Team Manager/Broker
Assign the team leader who will be responsible for team operations and client relationships.
Year Established
Add the team's founding year to showcase experience and track record in the market.
Number of Active Agents
Select current team size from the dropdown to help potential clients understand your team's capacity.
Team Logo
Upload team logo (PNG, JPG, GIF up to 5MB) to establish visual brand identity.
Best Practice: Use high-resolution images (minimum 300x300 pixels) with transparent backgrounds.
Contact Information Tab
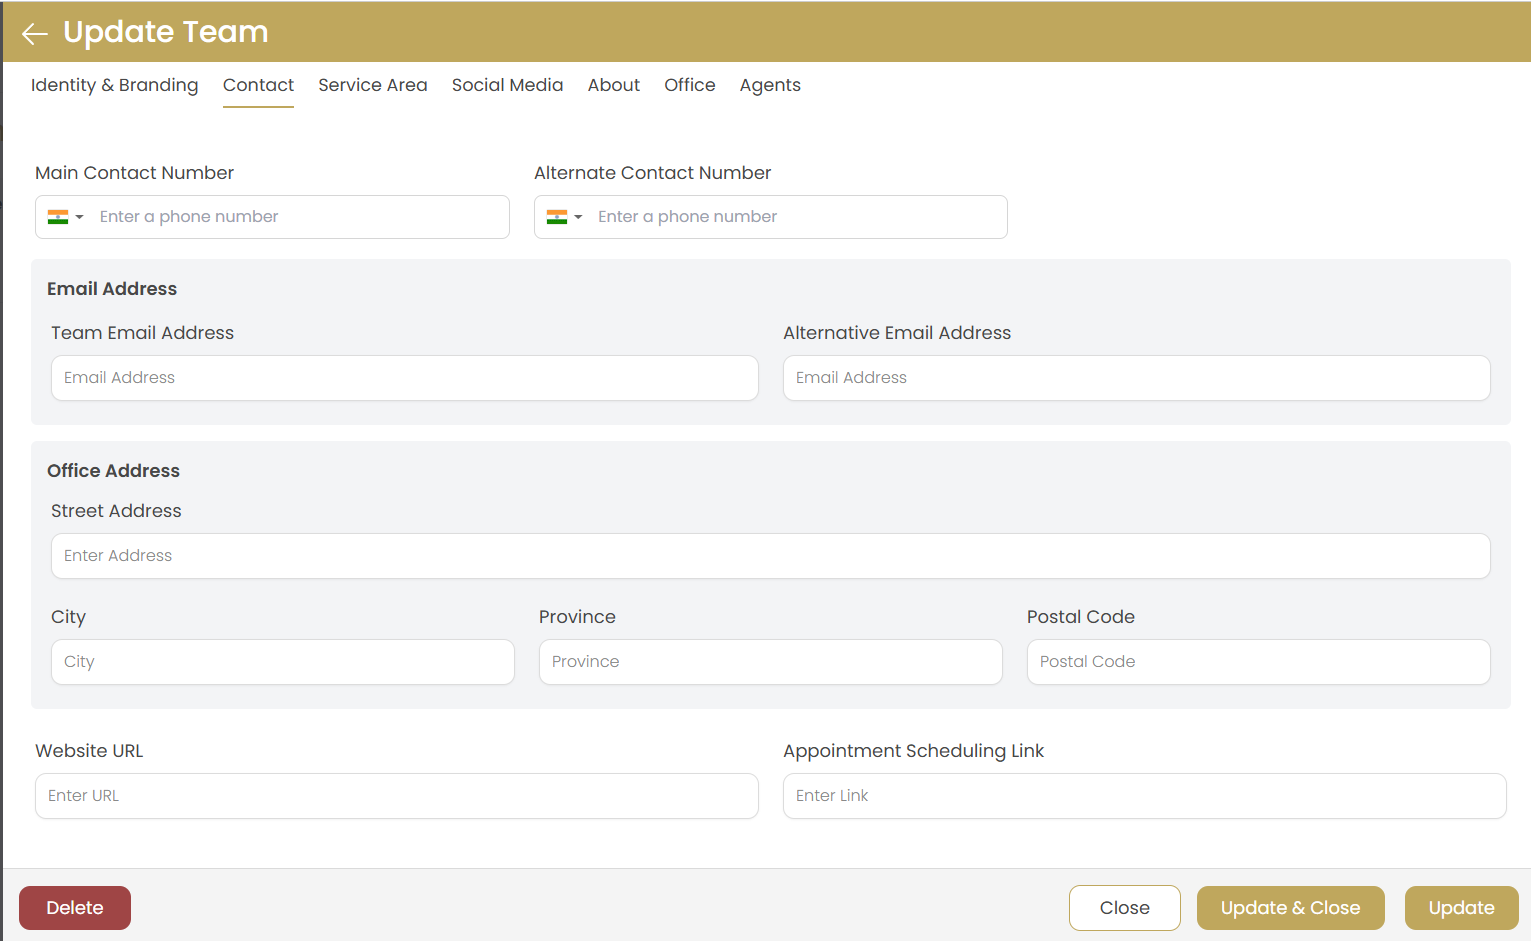
Main Contact Number
Primary phone number with country code for team inquiries and client communication.
Alternate Contact Number
Secondary phone line for backup communication or specialized departments.
Team Email Address
Main team email contact for general inquiries and professional correspondence.
Alternative Email Address
Secondary email if needed for different purposes (e.g., listings, admin).
Office Address
Complete street address where the team is physically located.
City, Province, Postal Code
Location details for complete address information and local search optimization.
Website URL
Team's dedicated website or landing page for additional marketing presence.
Appointment Scheduling Link
Online booking system link to streamline client appointment scheduling.
Service Area Tab
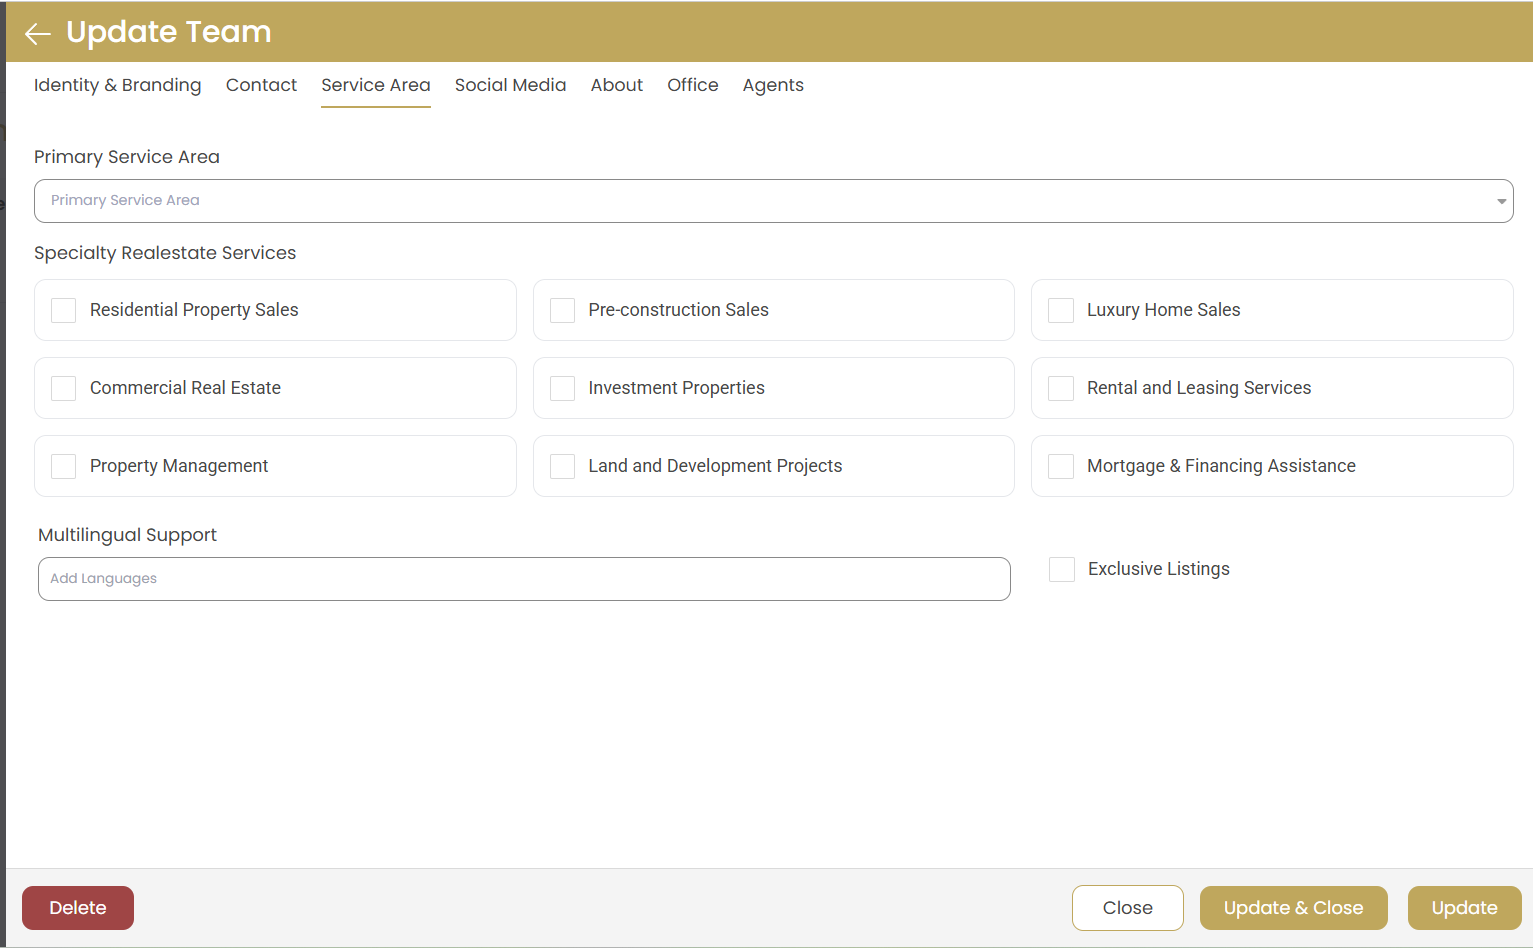
Primary Service Area
Define the main geographic market where your team operates and has expertise.
Specialty Real Estate Services
Select applicable specialties to showcase your team's expertise:
- Residential Property Sales - Family homes, condos, townhouses
- Commercial Real Estate - Office buildings, retail spaces, warehouses
- Property Management - Rental management services
- Pre-construction Sales - New development projects
- Investment Properties - Income-generating real estate
- Land and Development Projects - Raw land and development opportunities
- Luxury Home Sales - High-end residential properties
- Rental and Leasing Services - Tenant placement and leasing
- Mortgage & Financing Assistance - Lending support services
Multilingual Support
Add supported languages to attract diverse clientele and demonstrate cultural competency.
Exclusive Listings
Check if team handles exclusive properties to highlight premium service offerings.
Social Media Tab
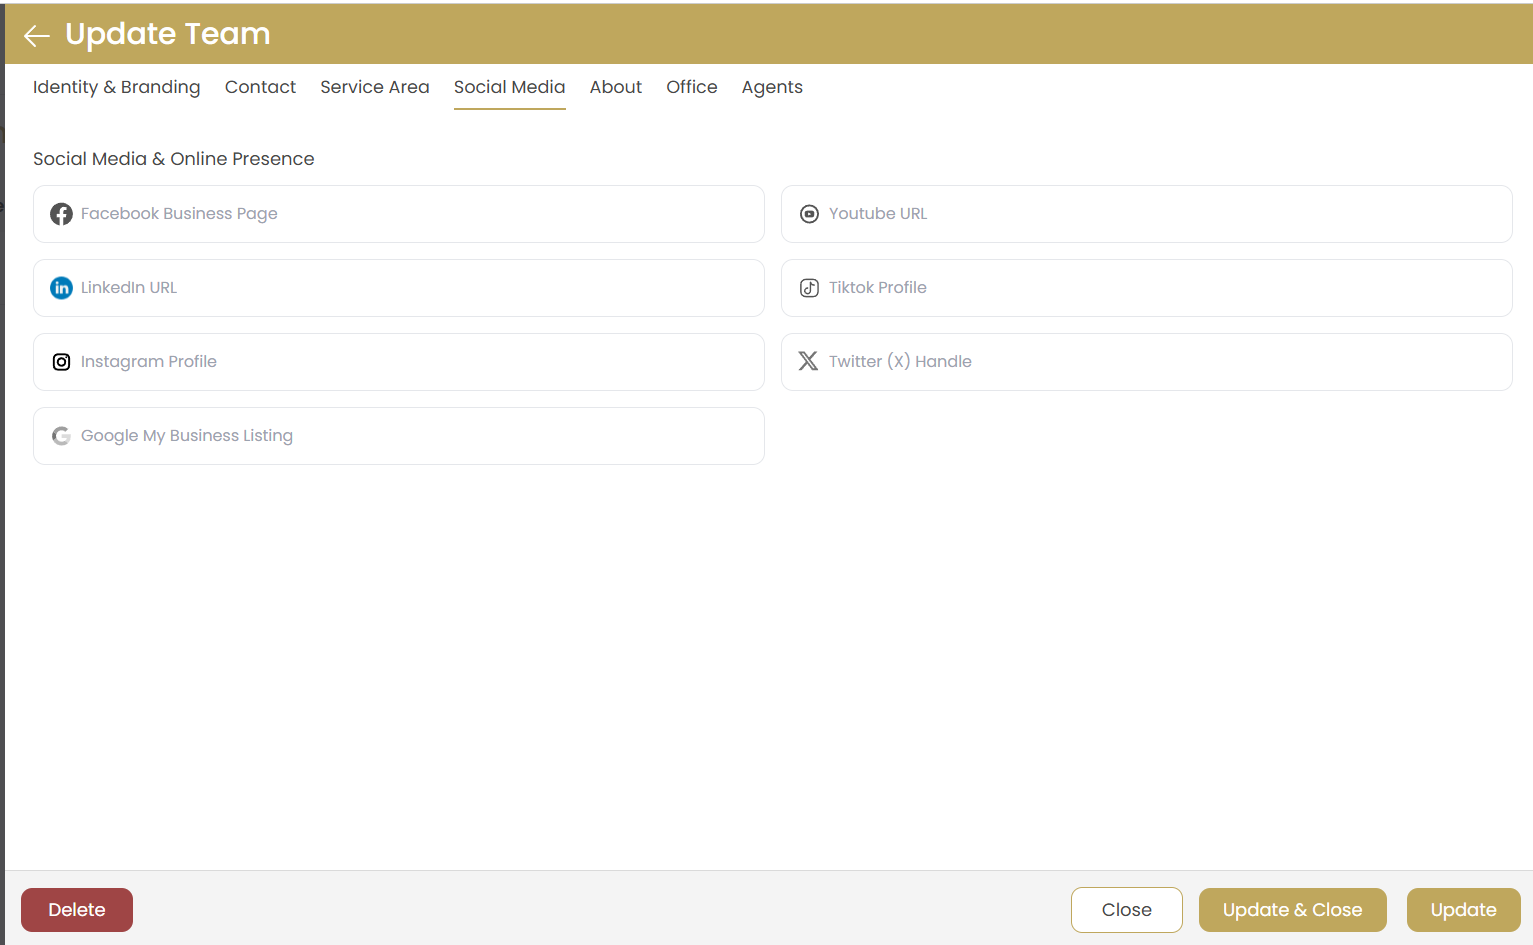
Facebook Business Page
Connect your team's Facebook business page URL for social media marketing integration.
LinkedIn URL
Professional LinkedIn profile to showcase team credentials and network connections.
Instagram Profile
Instagram handle or URL for visual marketing and property showcases.
YouTube URL
Channel for property videos, virtual tours, and educational content.
TikTok Profile
Short-form video content platform for reaching younger demographics.
Twitter (X) Handle
Social media updates, market news, and real-time communication with clients.
Google My Business Listing
Local search presence optimization for "near me" searches and reviews.
About Tab
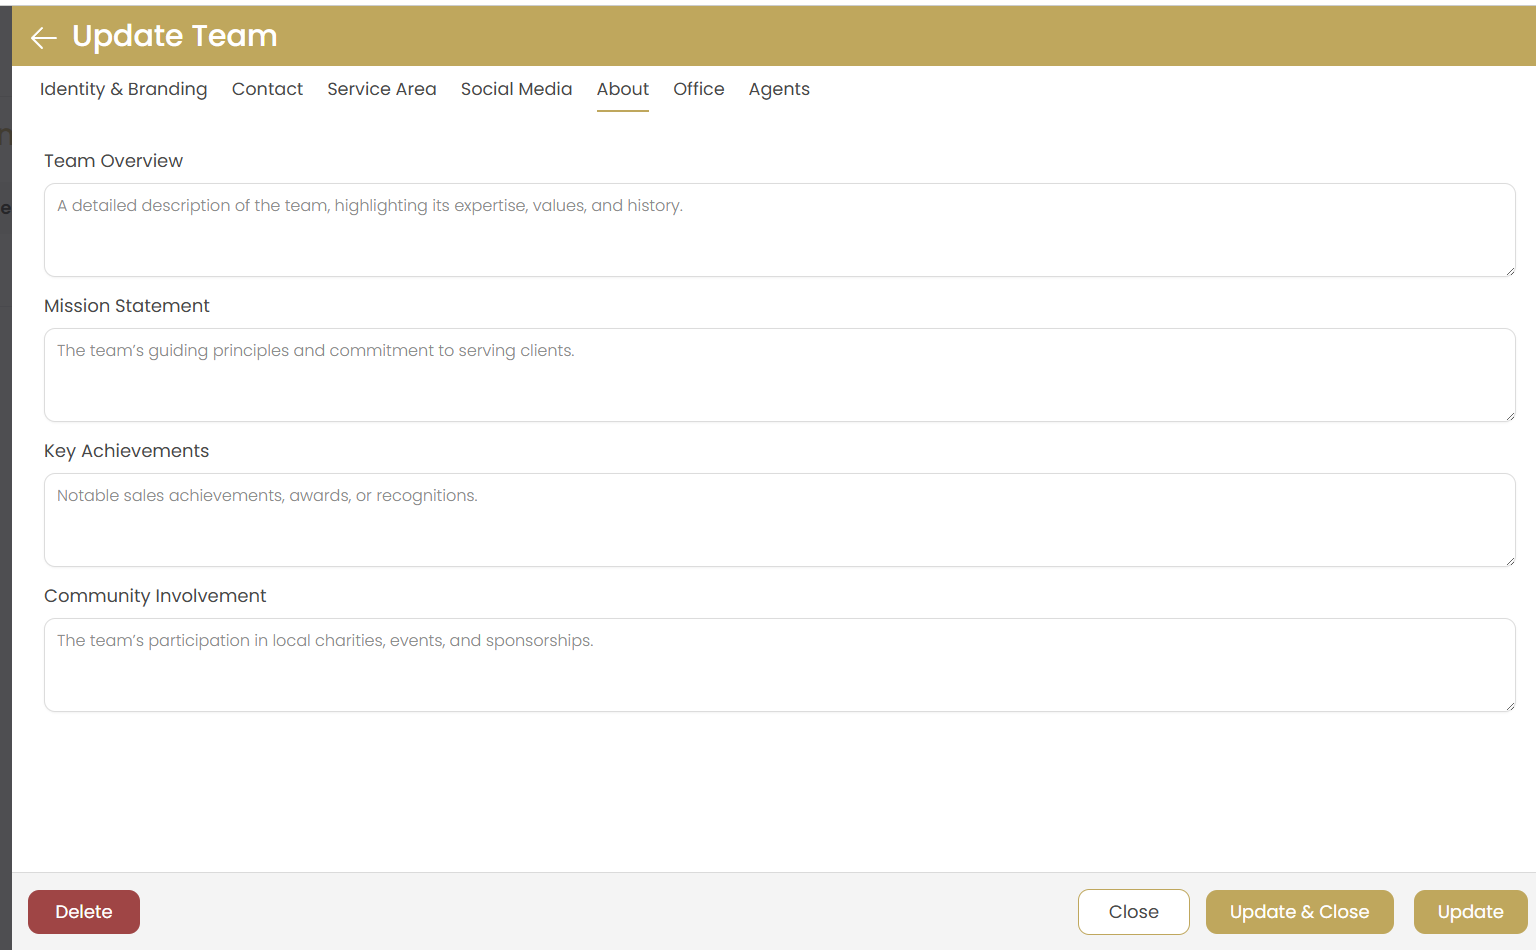
Team Overview
Detailed description highlighting your team's expertise, values, and unique approach to real estate.
Tip: Focus on what makes your team different and the value you provide to clients.
Mission Statement
Your team's guiding principles and commitment to client service.
Key Achievements
Notable sales achievements, awards, recognitions, or milestones that build credibility.
Community Involvement
Local charities, events, sponsorships, and community activities your team supports.
Office Tab
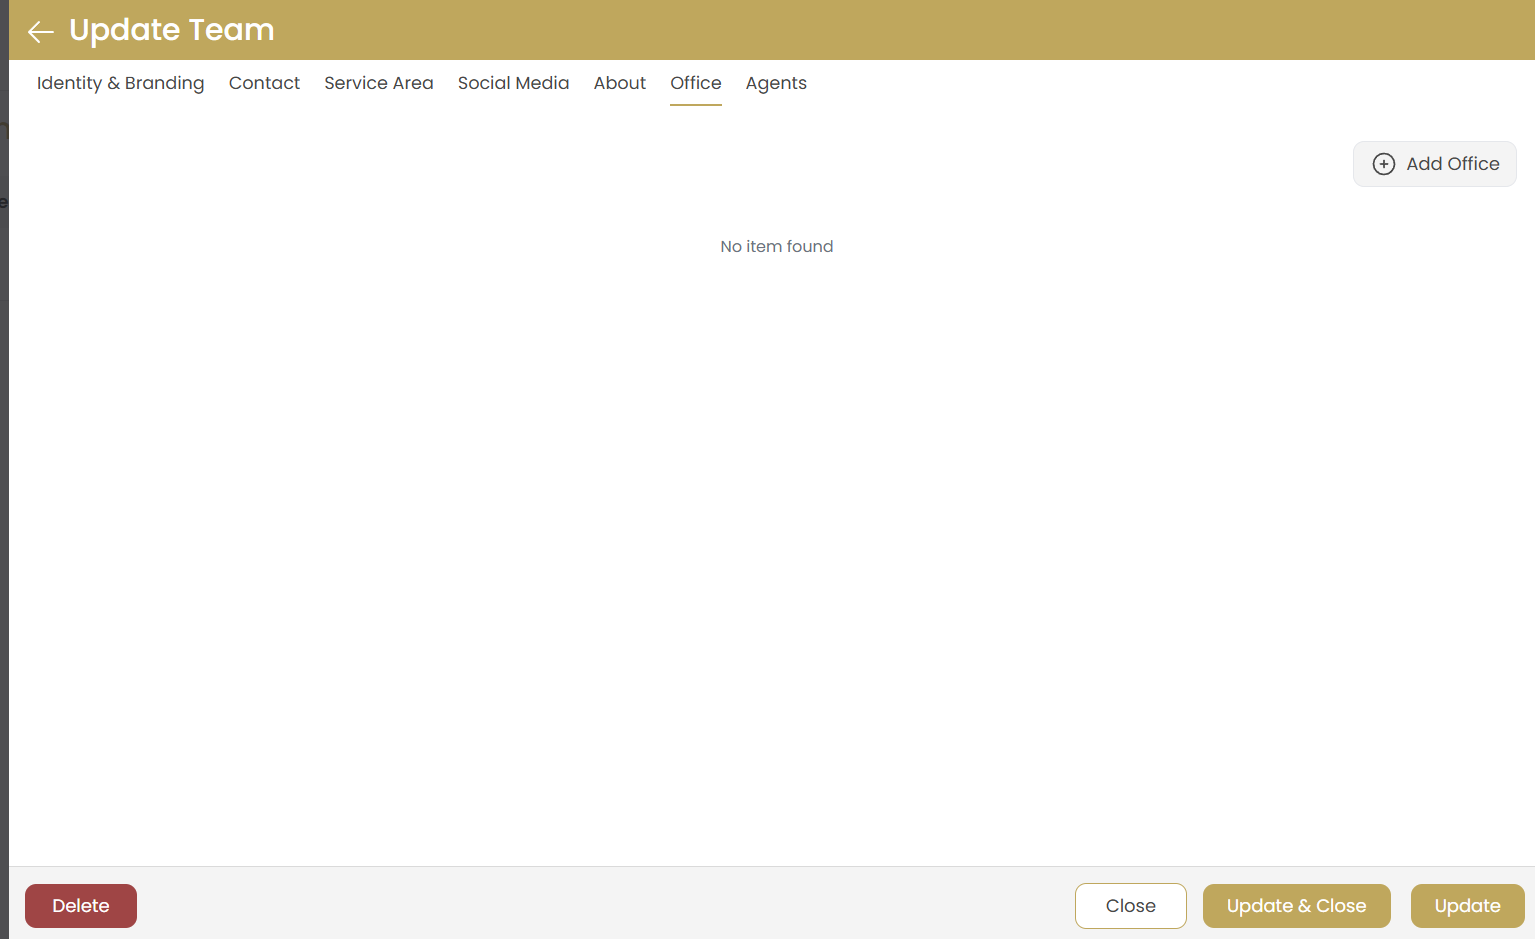
Add Office
Click "Add Office" to link existing office locations with your team.
Multiple Office Support
Teams can be associated with multiple office locations if they operate across different branches.
Office Information Display
Office information will be automatically displayed on team profiles and pages.
Agents Tab
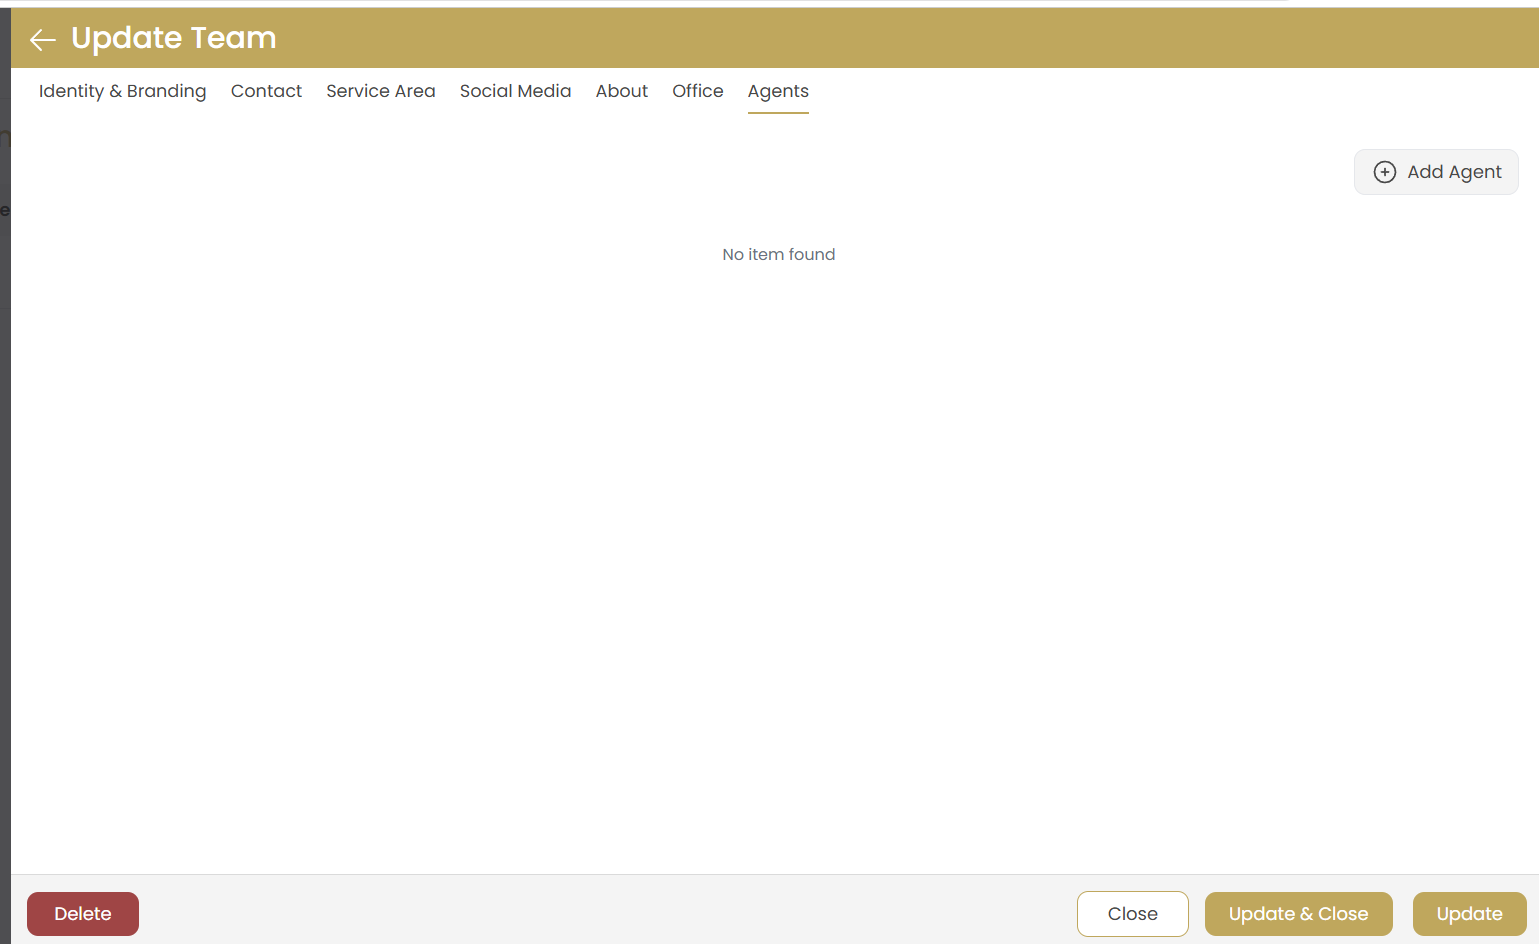
Add Agent
Click "Add Agent" to include team members from your existing agent profiles.
Agent Selection
Select from existing agent profiles in your system - create agent profiles first if needed.
Multi-Team Assignment
Agents can be assigned to multiple teams if they work across different specializations.
Role Management
Set agent roles and hierarchy within the team structure for clear organization.
Saving Your Team
Review Information
Navigate through all tabs to ensure all information is complete and accurate.
Save Team
Click "Add" to create the team with all configured information.
Cancel Option
Use "Close" to cancel the process without saving if you need to make changes later.
Managing Existing Teams
Once teams are created, you can easily update their information, add new members, or modify their service areas and branding.
Updating Team Information
Click on any existing team to open the Update Team interface. All the same tabs are available for editing:
- Update contact information as your team grows
- Modify service areas and specialties
- Refresh social media links and online presence
- Update team descriptions and achievements
Team Member Management
The Agents tab allows you to:
- Add new agents to the team
- Remove agents who have left
- Update agent roles and responsibilities
- Manage agent contact information
Team Updates
Use the update buttons to save changes:
- Update: Save current tab changes
- Update & Close: Save and return to team list
- Close: Exit without saving changes
Important: Deleting Teams
Use the "Delete" button with extreme caution. Deleting a team will:
- Remove the team from your website permanently
- Unassign all agents from the team
- Delete team-specific branding and content
- This action cannot be undone
Troubleshooting
Logo Upload Issues
Solution: Ensure your image file is under 5MB and in PNG, JPG, or GIF format. Clear your browser cache and try again if uploads fail.
Agent Assignment Problems
Solution: Verify that agent profiles exist in your system before trying to assign them to teams. Create agent profiles first if needed.
Social Media Links Not Working
Solution: Include the full URL including "https://" for all social media links. Test links in a new browser window before saving.
Team Information Not Displaying
Solution: Check that all required fields are completed and the team is saved properly. Refresh your website cache if changes don't appear immediately.