Website Settings
Configure your website's basic information, branding, and general settings
Overview
The Website Settings page allows you to configure essential information about your real estate website including site identity, branding elements, and legal information. This is typically the first place you'll want to start when setting up your Agent Teammate website.
Quick Tip
Make sure to complete all the basic settings before publishing your website. These settings affect how your site appears to visitors and search engines.
Available Settings Tabs
The Website Settings page is organized into several tabs, each focusing on different aspects of your website configuration:
| Tab | Purpose | Key Settings |
|---|---|---|
| General | Basic site information and branding | Site name, title, company name, copyright |
| Contact Us | Contact information and forms | Phone, email, address, contact forms |
| Social Links | Social media integration | Facebook, Instagram, Twitter, LinkedIn |
| Legal | Legal pages and compliance | Privacy policy, terms of service |
| Integration | Third-party integrations | MLS, IDX, analytics, tracking codes |
| Analytics | Website tracking and monitoring | Google Analytics, Facebook Pixel |
| Domain | Domain management and SSL | Custom domains, redirects, SSL settings |
General Settings Configuration
The General tab contains the most fundamental settings for your website. Here's how to configure each field:
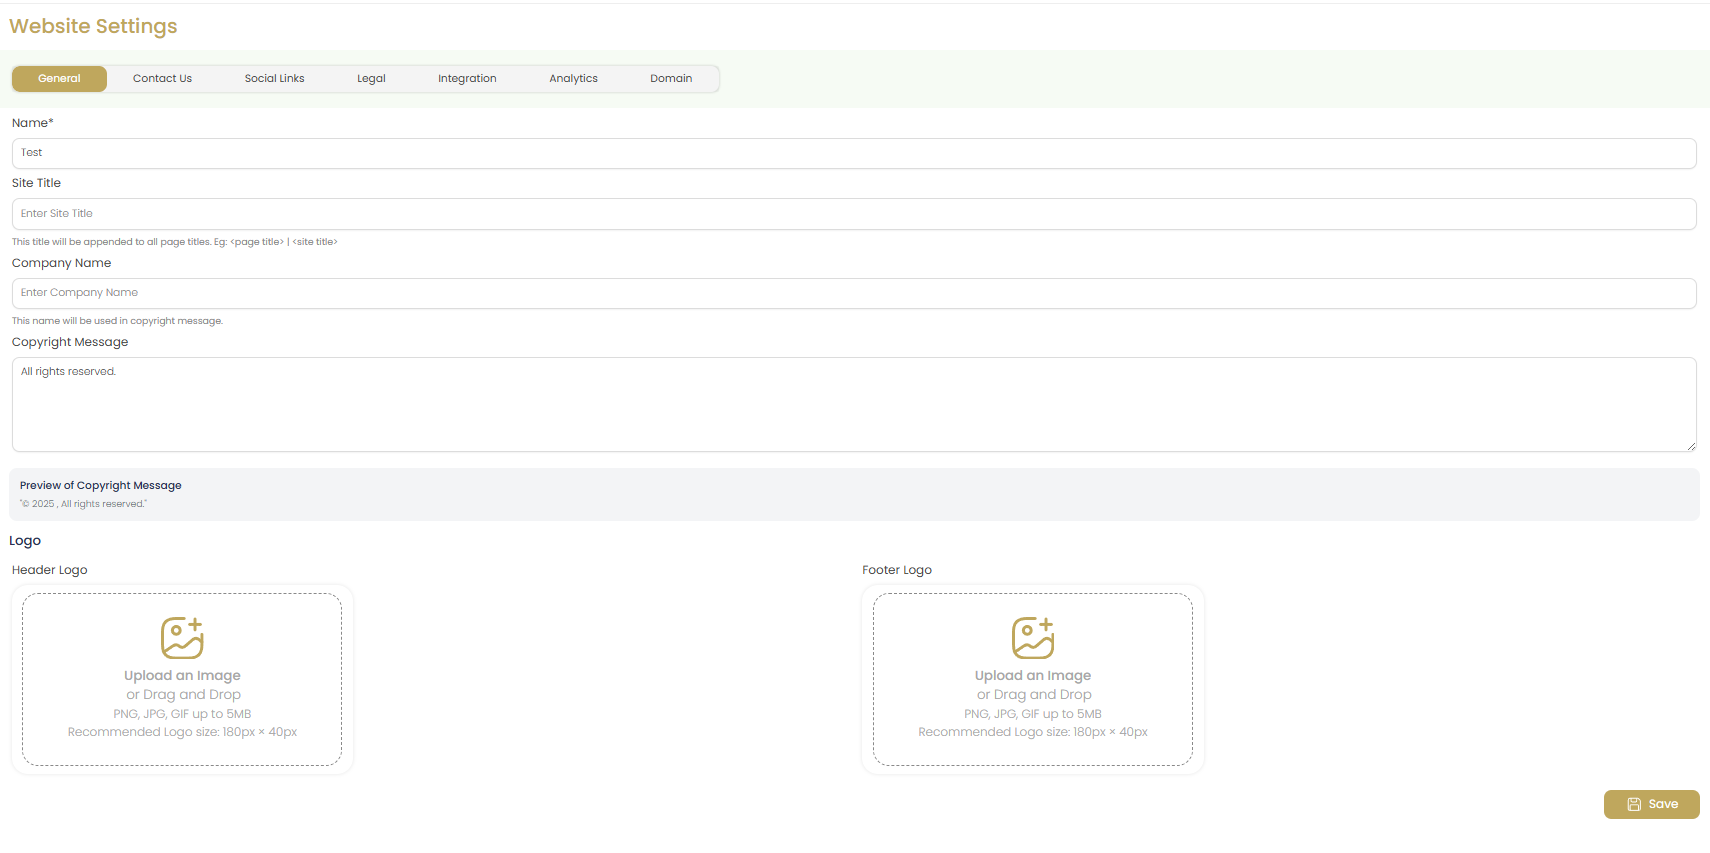
Website Name
Enter your website's primary name (e.g., "BlsvarUP"). This appears in the browser title bar and is used for SEO purposes. Keep it concise and memorable.
Best Practice: Use your business name or a combination of your name and location (e.g., "John Smith Real Estate" or "Downtown Realty").
Site Title
This is a more descriptive title that often appears in search results and browser tabs (e.g., "BlsvarUP"). It can be the same as your website name or include additional keywords.
Note: The site title is appended to all page titles, so keep it under 60 characters for optimal SEO.
Company Name
Enter your official business name that will be used in copyright notices and legal information. This should match your business registration.
Copyright Message
Customize the copyright text that appears in your website footer. The default "All rights reserved" can be modified to include additional legal language if needed.
Preview: You can see how your copyright message will appear at the bottom of the settings page.
Logo Management
Your website logos are crucial for brand recognition and should be configured carefully:
Header Logo
Upload your primary logo that will appear in the website header. This logo should be optimized for web use and represent your brand clearly.
- Recommended size: 200-300px wide, 50-100px tall
- Format: PNG or SVG for best quality
- Background: Transparent or white background works best
Footer Logo
Upload a logo for the website footer. This can be the same as your header logo or a variation designed for the footer area.
- Purpose: Reinforces brand presence at the bottom of pages
- Size: Can be smaller than header logo
- Style: Often uses white or light colors for dark footers
Logo Upload Tips
- Keep file sizes under 500KB for faster loading
- Use high-resolution images that scale well
- Test how your logo looks on both light and dark backgrounds
- Consider creating different versions for header and footer if needed
Saving Your Settings
After configuring your website settings:
Review Your Information
Double-check all entered information for accuracy, especially contact details and company name as these appear throughout your website.
Preview Copyright
Check the copyright preview at the bottom of the page to ensure it displays correctly with your chosen message and company name.
Save Changes
Click the Save button to apply all changes. Your settings will be immediately active on your website.
Important Note
Changes to website settings are applied immediately and will be visible to all website visitors. Make sure all information is accurate before saving.
Best Practices
Branding Consistency
- Use the same logo and color scheme across all platforms
- Ensure your website name matches your business cards and marketing materials
- Keep copyright information current and accurate
SEO Optimization
- Include relevant keywords in your site title
- Keep titles concise but descriptive
- Use your location in the company name if relevant
Professional Appearance
- Use high-quality, professional logos
- Ensure all text is free of spelling and grammar errors
- Test how your settings appear on the actual website
Troubleshooting
Logo Not Displaying
- Check file format (PNG, JPG, SVG are supported)
- Ensure file size is under 5MB
- Try uploading a different image to test
- Clear your browser cache and refresh the page
Changes Not Appearing
- Make sure you clicked the Save button
- Clear your browser cache
- Try viewing in an incognito/private browser window
- Wait a few minutes for changes to propagate
Next Steps
After configuring your general website settings, consider setting up: