Agent Management
Comprehensive guide to creating and managing individual agent profiles with complete professional information
Overview
The Agent Management module allows you to create and manage detailed profiles for individual real estate agents within your organization. Each agent profile includes professional details, regulatory information, contact details, social media presence, professional background, compliance settings, and team associations. This comprehensive system helps showcase your agents' expertise and credentials to potential clients.
Key Benefits
- Professional Profiles: Complete agent information and credentials
- Regulatory Compliance: Track licenses and certifications
- Marketing Integration: Showcase agents on your website
- Team Organization: Associate agents with offices and teams

Adding a New Agent
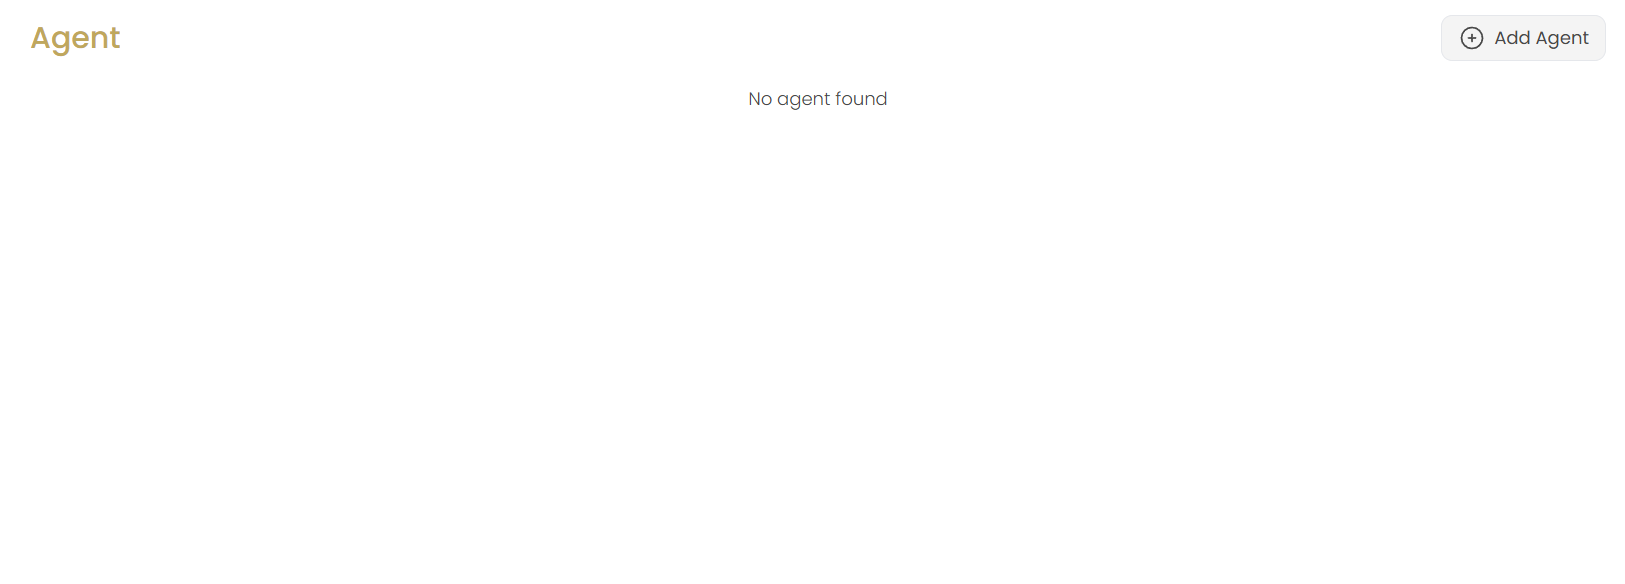
Access Agent Management
Navigate to the Agents section in the Website menu. If no agents exist, you'll see "No agent found" with an option to add your first agent.
Click Add Agent
Click the Add Agent button in the top-right corner to start creating your agent profile.
Configure Agent Details
You'll be taken to the agent configuration interface with multiple tabs to complete the profile setup.
Professional Details Tab
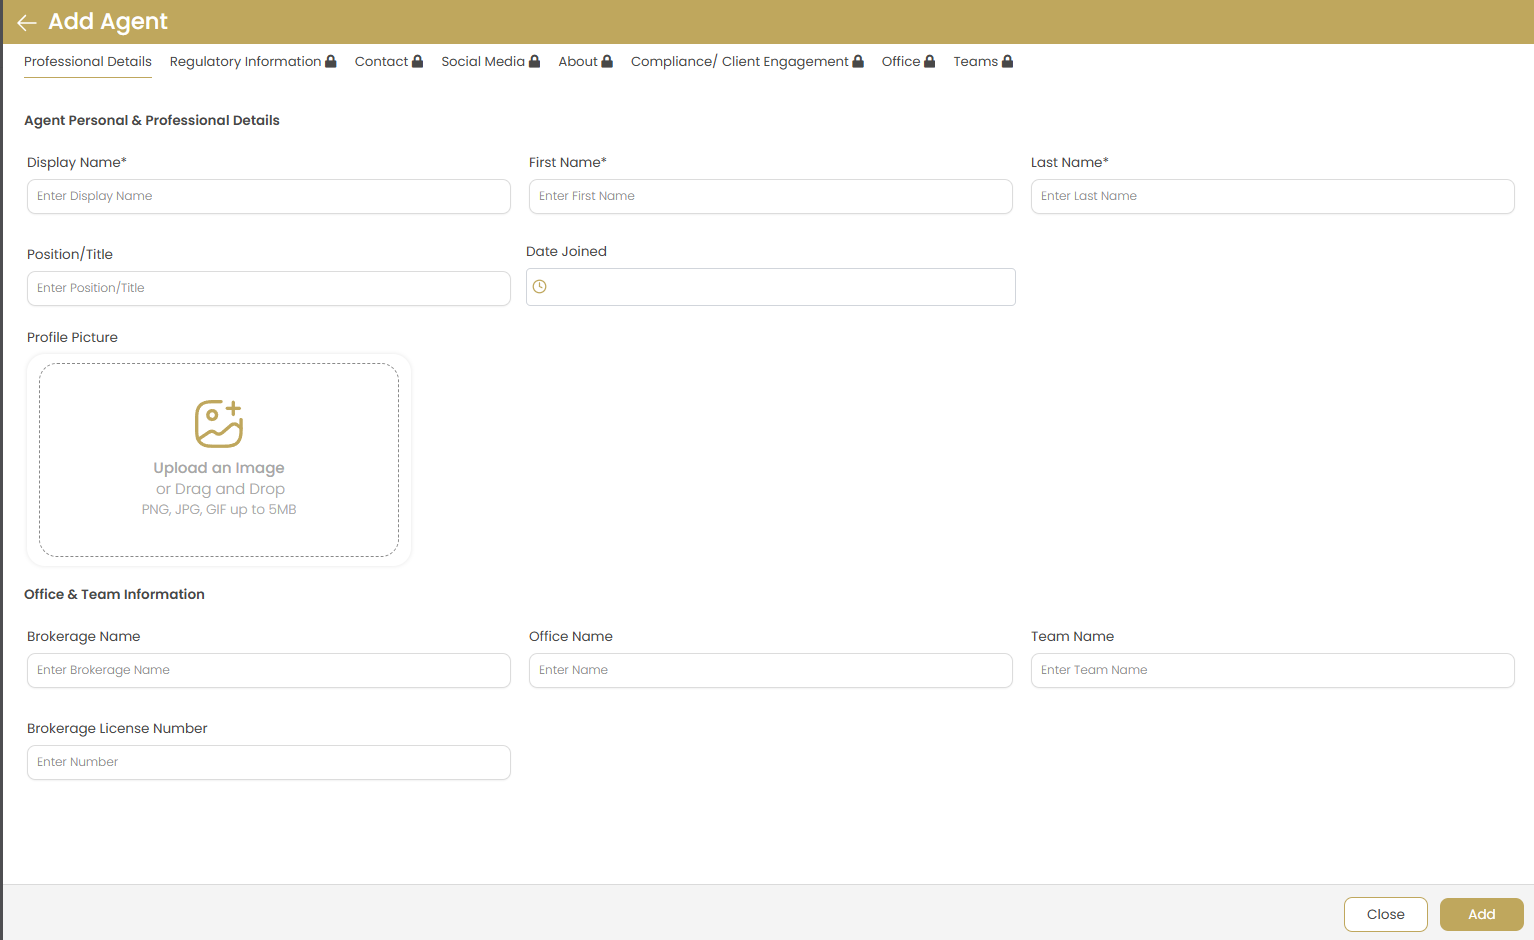
Agent Personal & Professional Details
Complete the basic identification and professional information:
- Display Name: Public name shown on website (required)
- First Name: Agent's first name (required)
- Last Name: Agent's last name (required)
- Position/Title: Professional title or role
- Date Joined: Start date with the organization
Profile Picture
Upload a professional headshot for the agent:
- Click "Upload an Image" or drag and drop
- Supported formats: PNG, JPG, GIF up to 5MB
- Recommended size: 300x300 pixels minimum
Best Practice: Use high-quality, professional headshots with good lighting and neutral backgrounds.
Office & Team Information
Associate the agent with organizational structure:
- Brokerage Name: Primary brokerage affiliation
- Office Name: Specific office location
- Team Name: Team membership if applicable
- Brokerage License Number: Official license information
Regulatory Information Tab
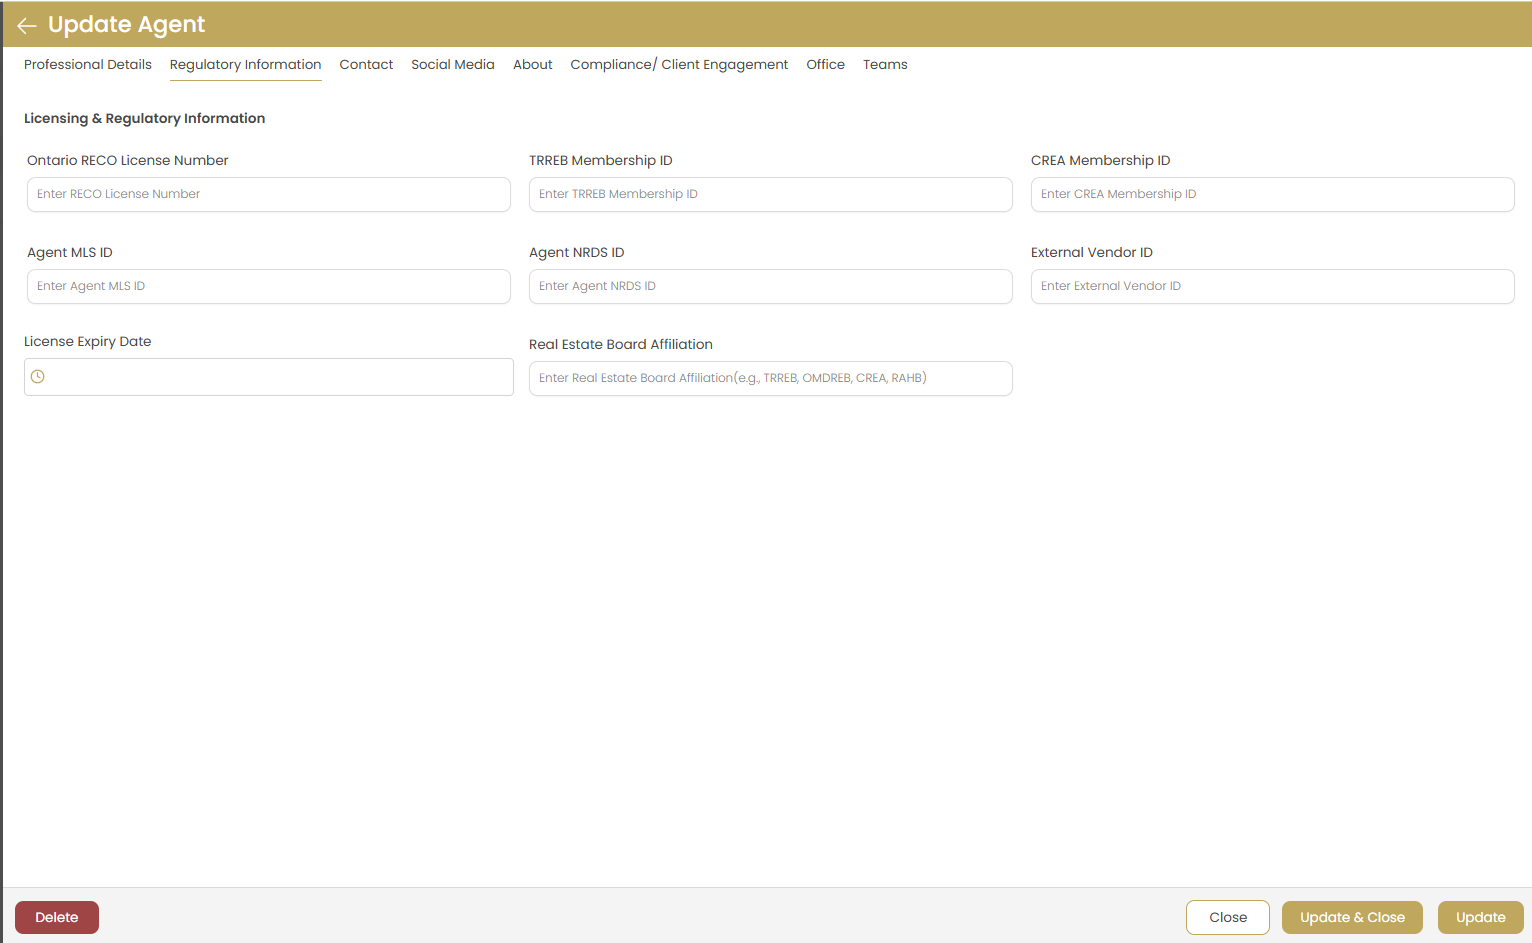
Licensing & Regulatory Information
Enter all required licensing and regulatory details:
- Ontario RECO License Number: Provincial license number
- TRREB Membership ID: Toronto Real Estate Board membership
- CREA Membership ID: Canadian Real Estate Association ID
- Agent MLS ID: Multiple Listing Service identifier
- Agent NRDS ID: National Association identifier
- External Vendor ID: Third-party system integration ID
License Expiry Date
Set the license expiration date to track renewal requirements and maintain compliance.
Real Estate Board Affiliation
Specify board memberships and affiliations (e.g., TRREB, OMDREB, CREA, RAHB).
Contact Information Tab
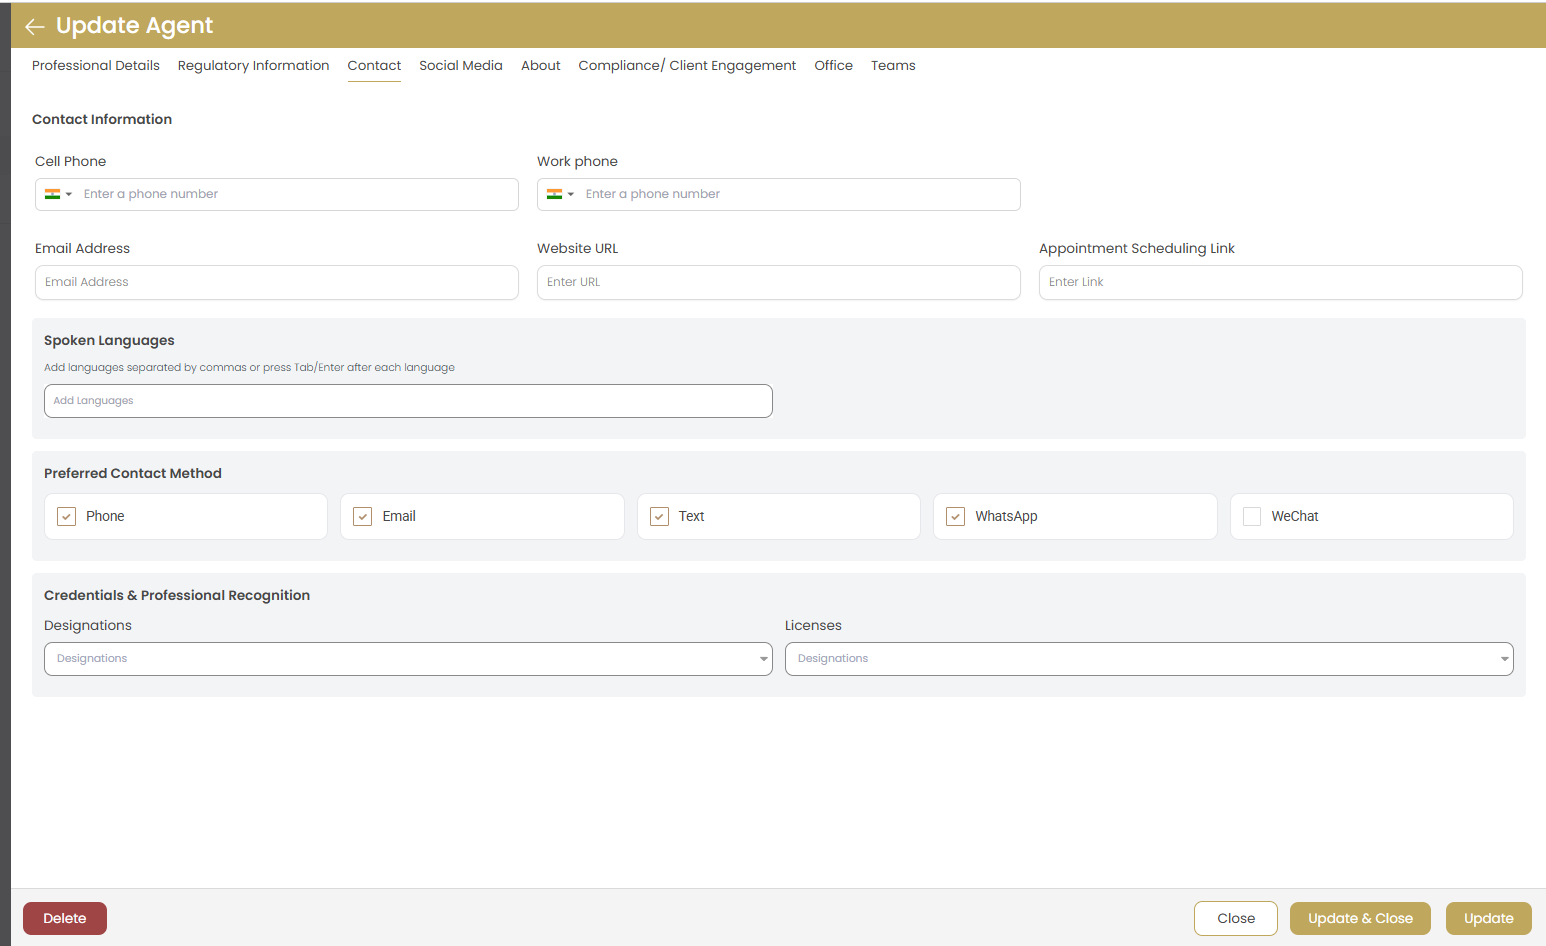
Contact Information
Configure all communication channels:
- Cell Phone: Primary mobile number with country code
- Work Phone: Office or business line
- Email Address: Professional email contact
- Website URL: Personal or professional website
- Appointment Scheduling Link: Online booking system
Spoken Languages
Add languages the agent can communicate in:
- Separate multiple languages with commas
- Press Tab/Enter after each language
- Include fluency level if relevant
Preferred Contact Method
Select the agent's preferred communication channels:
- Phone: Traditional voice calls
- Email: Written correspondence
- Text: SMS messaging
- WhatsApp: Messaging app
- WeChat: Social messaging platform
Credentials & Professional Recognition
Configure professional designations and licenses:
- Designations: Professional certifications (e.g., CRS, GRI, ABR)
- Licenses: Additional licenses or certifications
Social Media Tab
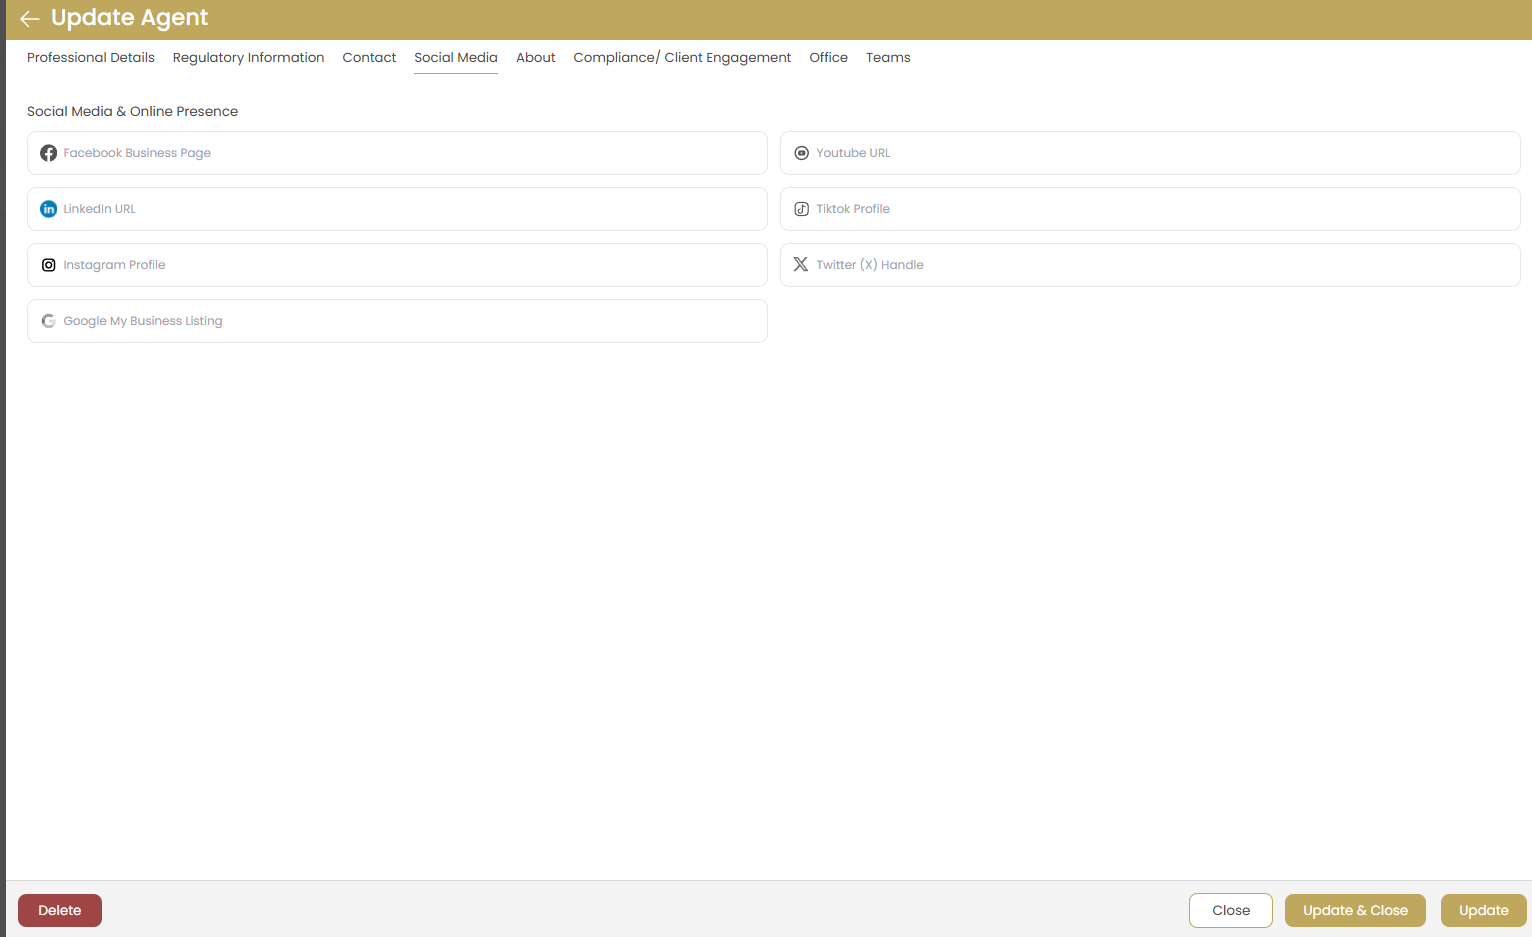
Social Media & Online Presence
Connect the agent's digital marketing channels:
- Facebook Business Page: Professional Facebook presence
- LinkedIn URL: Professional networking profile
- Instagram Profile: Visual content and property showcases
- YouTube URL: Video content and virtual tours
- TikTok Profile: Short-form video content
- Twitter (X) Handle: Social media updates and engagement
- Google My Business Listing: Local search optimization
URL Format
Ensure all social media links include the full URL with "https://" for proper functionality.
About Tab
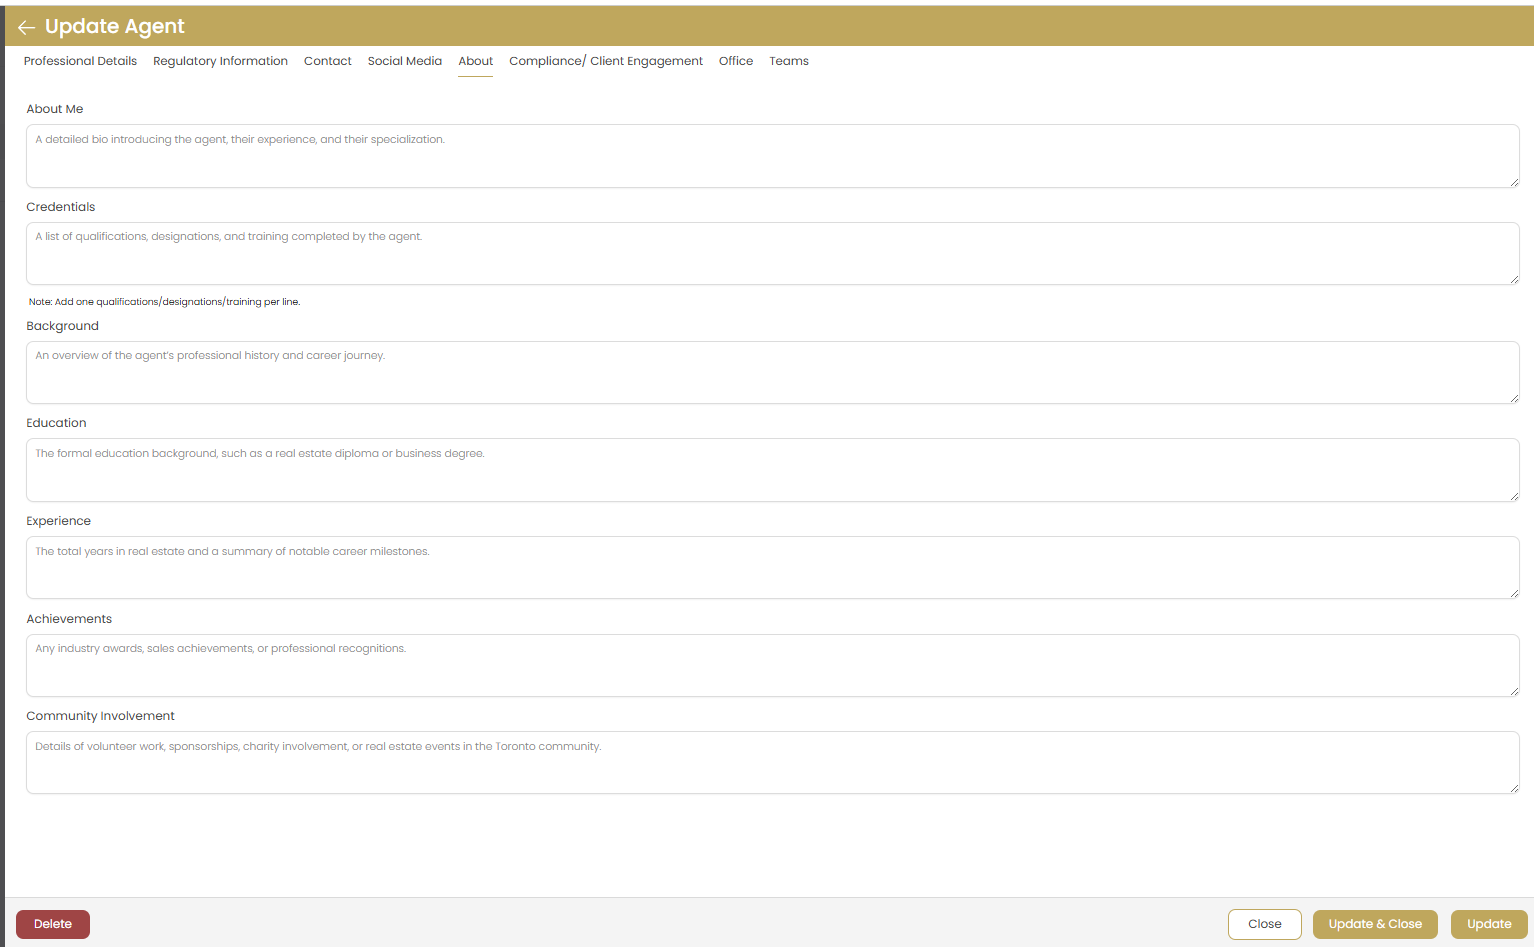
About Me
Create a compelling professional bio that introduces the agent, their experience, and specialization.
Tip: Focus on what makes the agent unique and the value they provide to clients.
Credentials
List qualifications, designations, and training completed by the agent:
- Professional certifications and designations
- Continuing education courses
- Specialized training programs
Background
Provide an overview of the agent's professional history and career journey in real estate.
Education
Detail formal education background, including real estate education and business degrees.
Experience
Highlight total years in real estate and summary of notable career milestones.
Achievements
Showcase industry awards, sales achievements, or professional recognitions.
Community Involvement
Detail volunteer work, sponsorships, charity involvement, or real estate events in the community.
Compliance/Client Engagement Tab
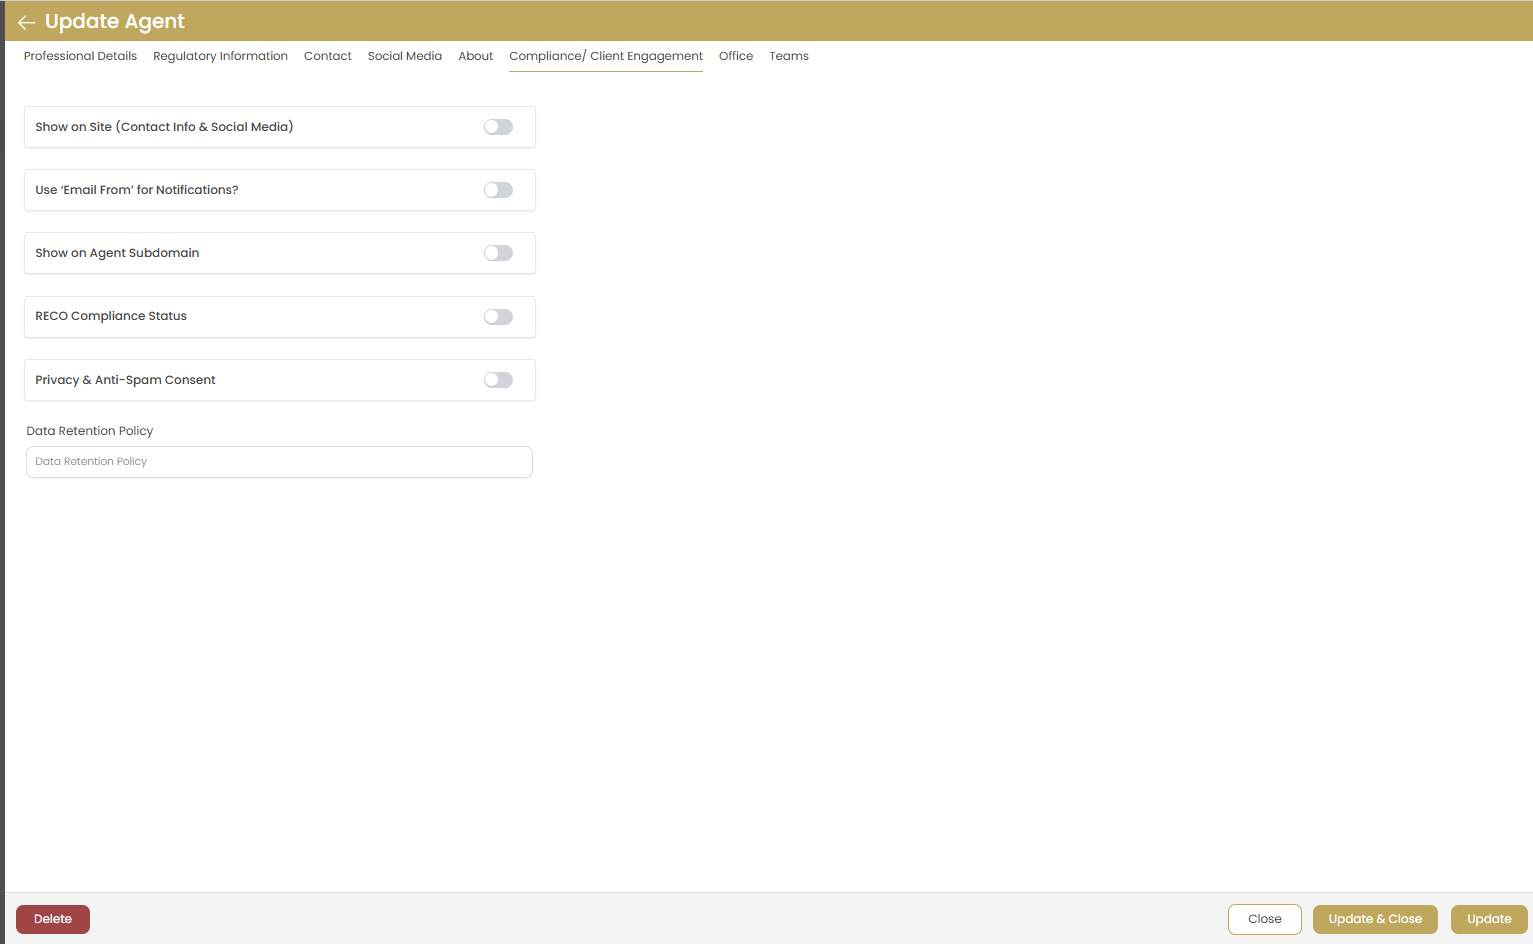
Show on Site (Contact Info & Social Media)
Toggle to control whether the agent's contact information and social media links appear on the website.
Use 'Email Form' for Notifications
Enable email form submissions for client inquiries instead of direct email display.
Show on Agent Subdomain
Control whether the agent appears on dedicated agent subdomain pages.
RECO Compliance Status
Track Real Estate Council of Ontario compliance status for regulatory requirements.
Privacy & Anti-Spam Consent
Manage privacy settings and anti-spam compliance for client communications.
Data Retention Policy
Set data retention policies for client information and communication records.
Office Tab
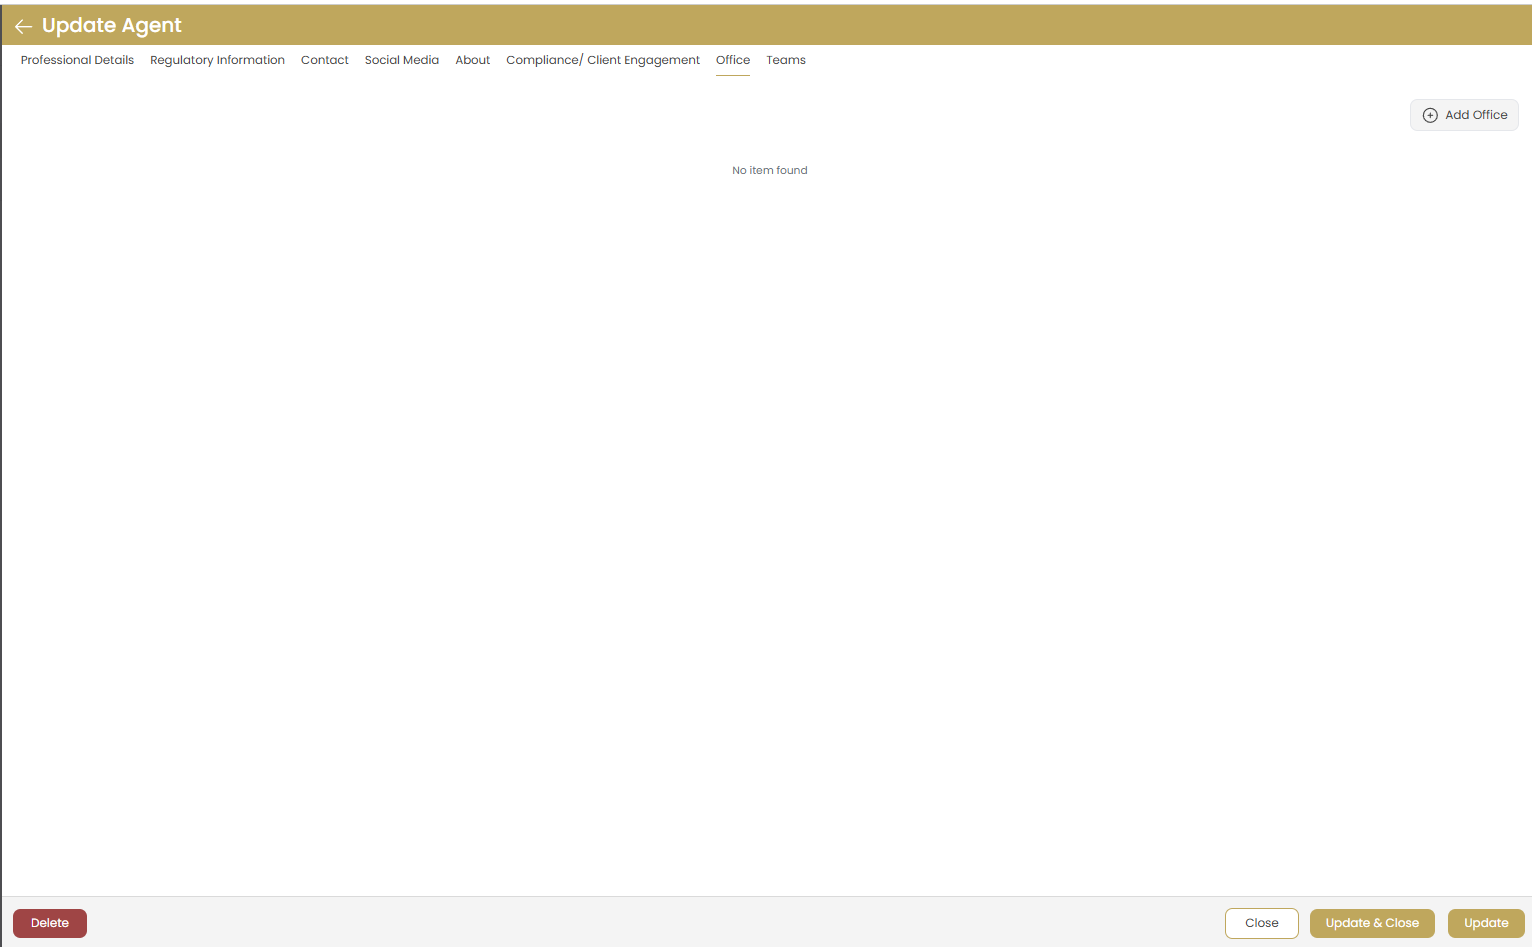
Office Association
Associate the agent with existing office locations:
- Click "Add Office" to link the agent with office locations
- Agents can be associated with multiple offices if needed
- Office information will appear on agent profiles
No Office Found
If no offices are available, create office profiles first in the Office Management section.
Teams Tab
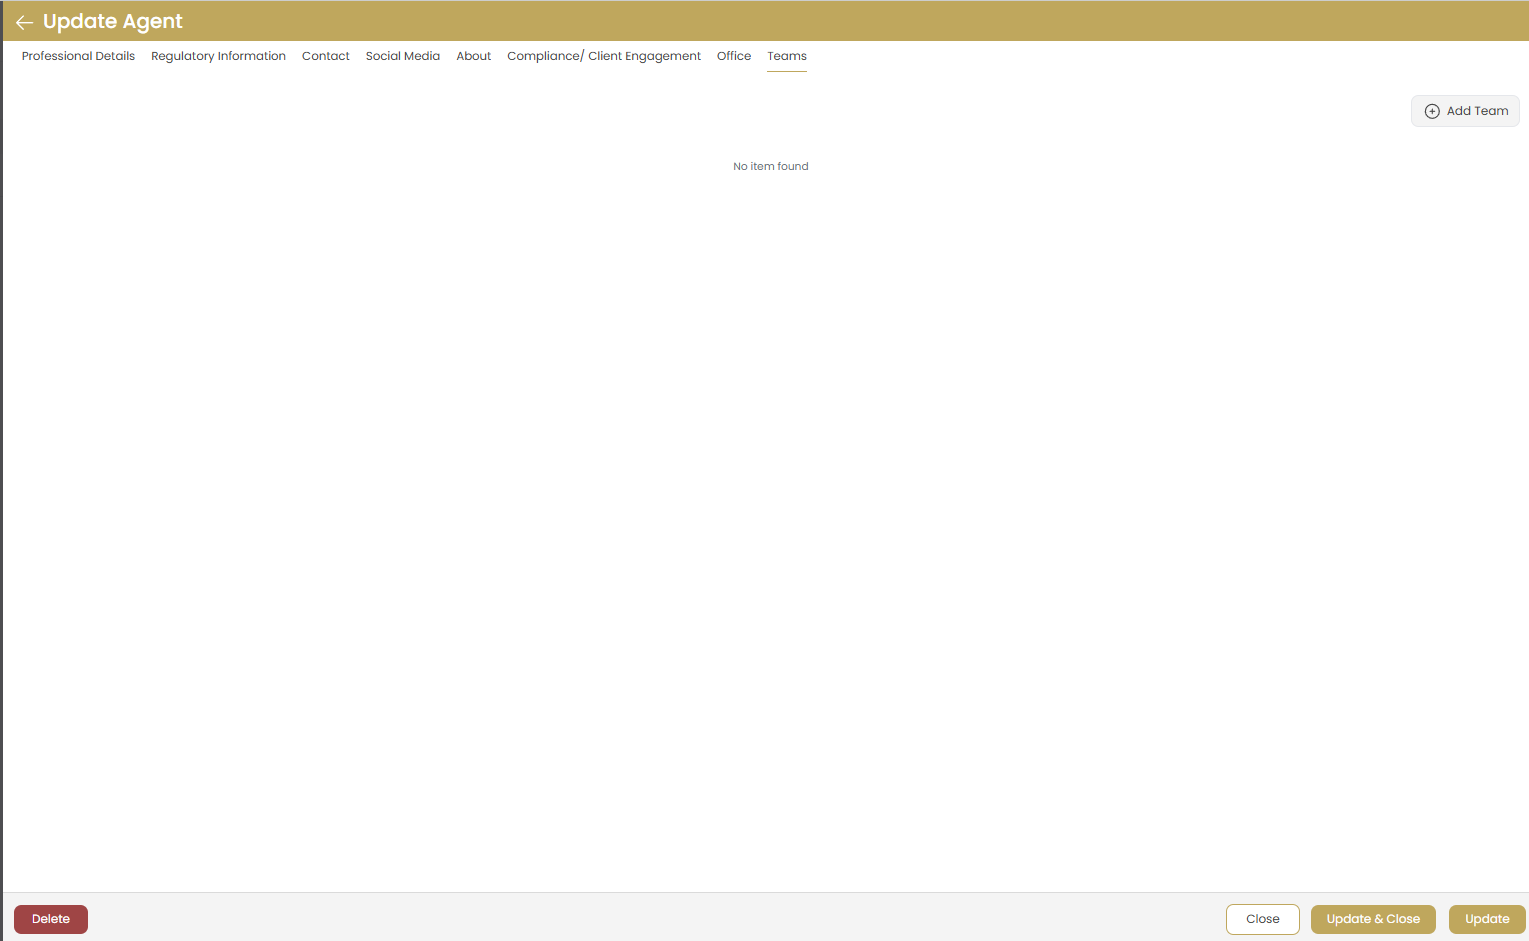
Team Association
Associate the agent with existing teams:
- Click "Add Team" to link the agent with team structures
- Agents can be members of multiple teams
- Team information will appear on agent profiles
No Teams Found
If no teams are available, create team profiles first in the Team Management section.
Saving Your Agent Profile
Review Information
Navigate through all tabs to ensure all information is complete and accurate.
Save Agent
Click "Add" to create the agent profile with all configured information.
Cancel Option
Use "Close" to cancel the process without saving if you need to make changes later.
Managing Existing Agents
Once agent profiles are created, you can easily update their information, modify their settings, or manage their associations.
Updating Agent Information
Click on any existing agent to open the Update Agent interface. All the same tabs are available for editing:
- Update contact information and social media links
- Modify professional details and credentials
- Refresh regulatory information and license status
- Update professional background and achievements
Agent Updates
Use the update buttons to save changes:
- Update: Save current tab changes
- Update & Close: Save and return to agent list
- Close: Exit without saving changes
Important: Deleting Agents
Use the "Delete" button with extreme caution. Deleting an agent will:
- Remove the agent from your website permanently
- Unassign the agent from all teams and offices
- Delete agent-specific content and associations
- This action cannot be undone
Troubleshooting
Profile Picture Upload Issues
Solution: Ensure your image file is under 5MB and in PNG, JPG, or GIF format. Clear your browser cache and try again if uploads fail.
Office/Team Association Problems
Solution: Verify that office and team profiles exist in your system before trying to associate them with agents. Create these profiles first if needed.
Social Media Links Not Working
Solution: Include the full URL including "https://" for all social media links. Test links in a new browser window before saving.
Agent Information Not Displaying
Solution: Check that all required fields are completed and the agent profile is saved properly. Refresh your website cache if changes don't appear immediately.
License Information Errors
Solution: Verify license numbers and expiry dates are accurate. Contact your regulatory body if you're unsure about correct license information.